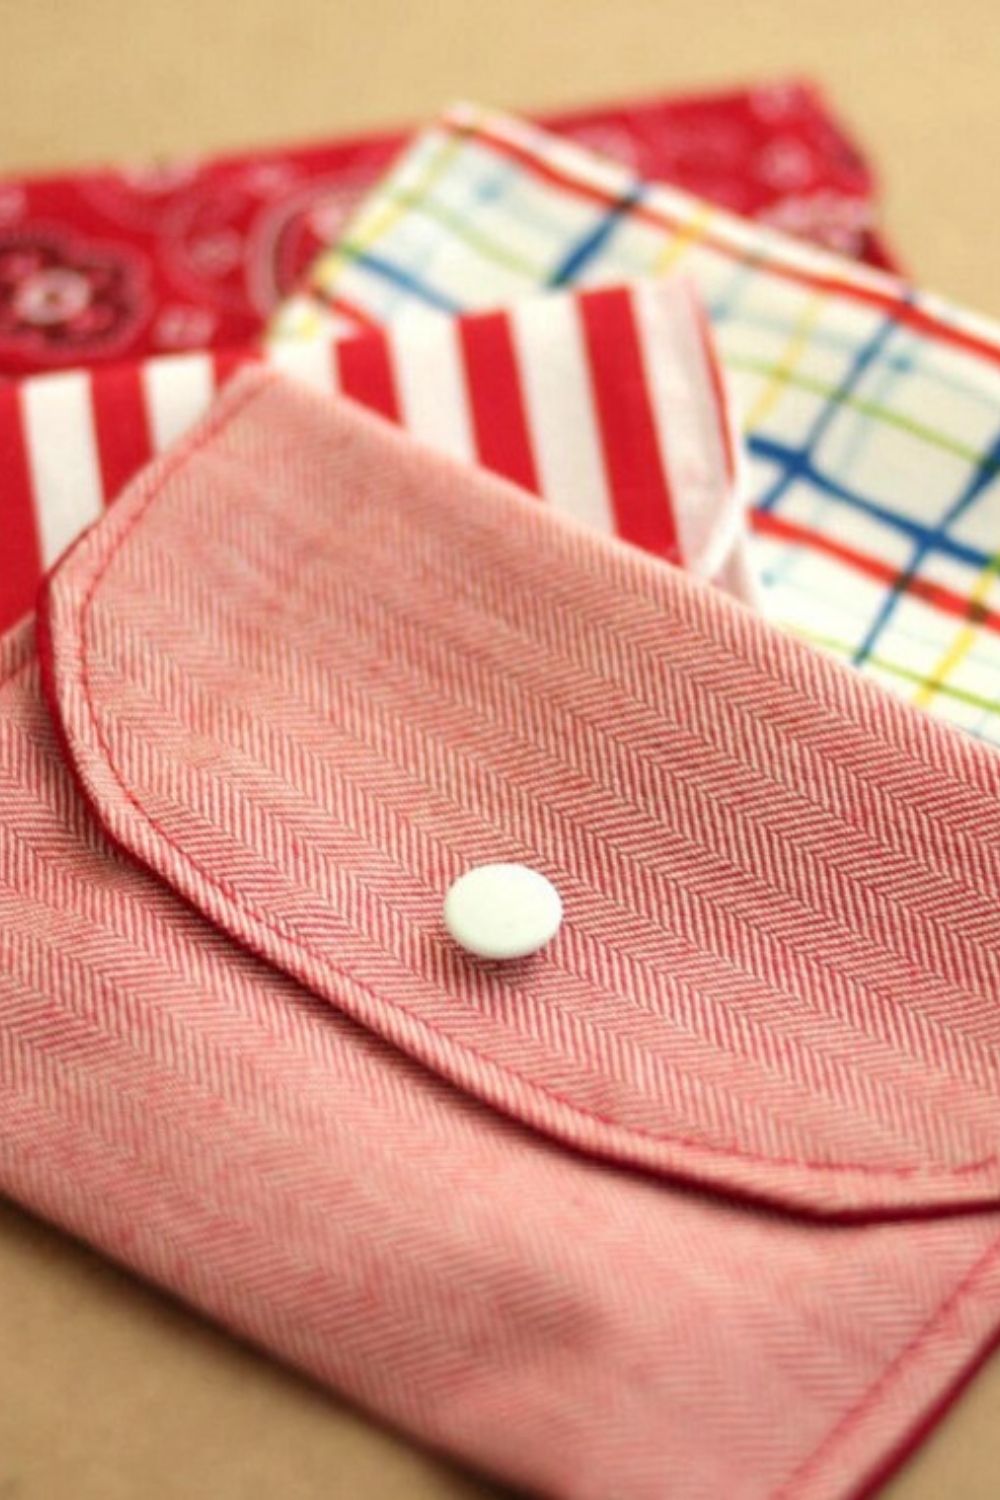
Why Add A Snap To Fabric?
Adding a snap closure is an easy no-sew way alternative to a button. A snap is added with special snap hardware with a few easy steps. Unlike a buttonhole, there’s no sewing required. And it’s a sturdy way to keep things closed. Use it on garments like jackets, shirts and pants. Or on accessories like coin purses, tote bags or wallets.
DIY Snap Tutorial

Step 1: Gather Your Materials
- Snap hardware (2 prongs, a socket and a stud)
- Hammer
- Old spool of thread

Step 2: Place Prong On Top
On the right side of the fabric you want to be facing out, press a prong into the fabric in your desired snap placement.

Step 3: Press It In
Press the prong all the way through the fabric until you can see the prongs on the underside of the fabric.

Step 4: Place Socket on Underside
On the underside of the fabric, directly opposite of the prong, place the socket over the prong spikes. Make sure you place the socket right side up — where the prongs fit neatly into the rim of the socket.

Step 5: Hammer in Place
Make sure you’re on a padded surface (like a towel). Using an old spool of thread as buffer, place it over the socket and hammer firmly until the prongs open up within the socket.

Step 6: Place Second Prong
Using the first socket, mark your placement of the bottom snap. Press your second prong through the fabric (from the inside out). Position the stud on top of the prongs. Make sure the stud is facing up.

Step 7: Hammer Second Snap
Hammer second prong/stud into place. You’re done!
Never miss a sewing project or tutorial
Want to get my best crafty tips & tutorials to create handmade projects and heart-melting gifts? All delivered to you in a weekly-ish email, along with exclusive offers. Pop your email in the box below and hit Subscribe. Unsubscribe anytime. See my Privacy Policy for details.
Oh! And, you’ll also get 10% off your next pattern purchase.


