What is Bias Tape?
This sewing tutorial shows you how to make your own bias tape, without any fancy gadgets. Bias tape is helpful for easily finishing the edges of items that have rounded edges, thick layers, or that are generally not easy to hem. It encloses the edge of your item, covering your raw edges. Pick a matching color for your it, or a contrasting one for a neat design idea.
Bias Tape Tutorial

Step 1: Gather Your Materials
- Woven fabric (like cotton)
- Ruler (a clear one helps)
- Marking pen or pencil (that washes out)
Step 2: Calculate the Width of Your Strips
- For single fold bias tape, it should be the width of your final tape minus 1/8”. (For example, if you want 1/2” single fold bias tape, cut 7/8” wide strips)
- For double fold bias tape, your strips should be 4 times the width of your final tape minus 1/8”. (For example, if you want 1/2” double fold bias tape, cut strips that are 1 and 7/8” wide)
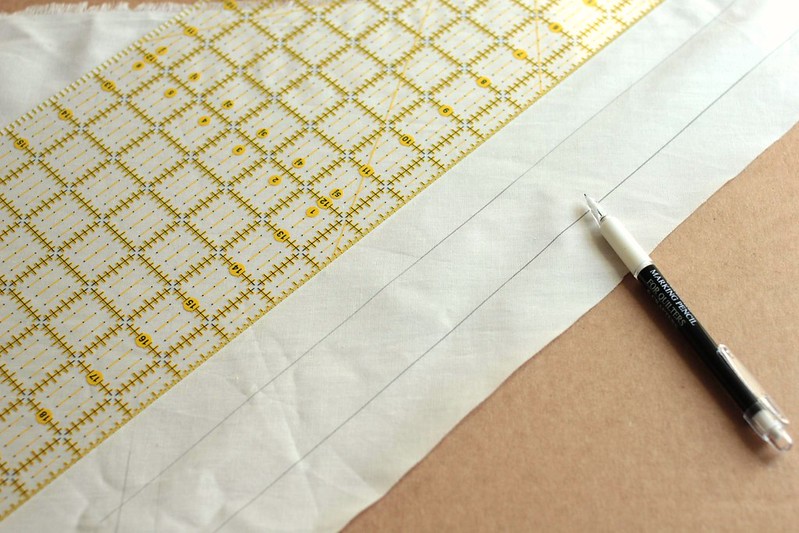
Step 3: Mark Your Fabric & Cut
Next, you’re going to mark your lines. To do this, first find your grainline of your fabric, then a 45 degree angle from it. Draw a line at the 45 degree angle, and then mark parallel lines in width you calculated above. Cut your fabric along the lines so you have a bunch of strips.
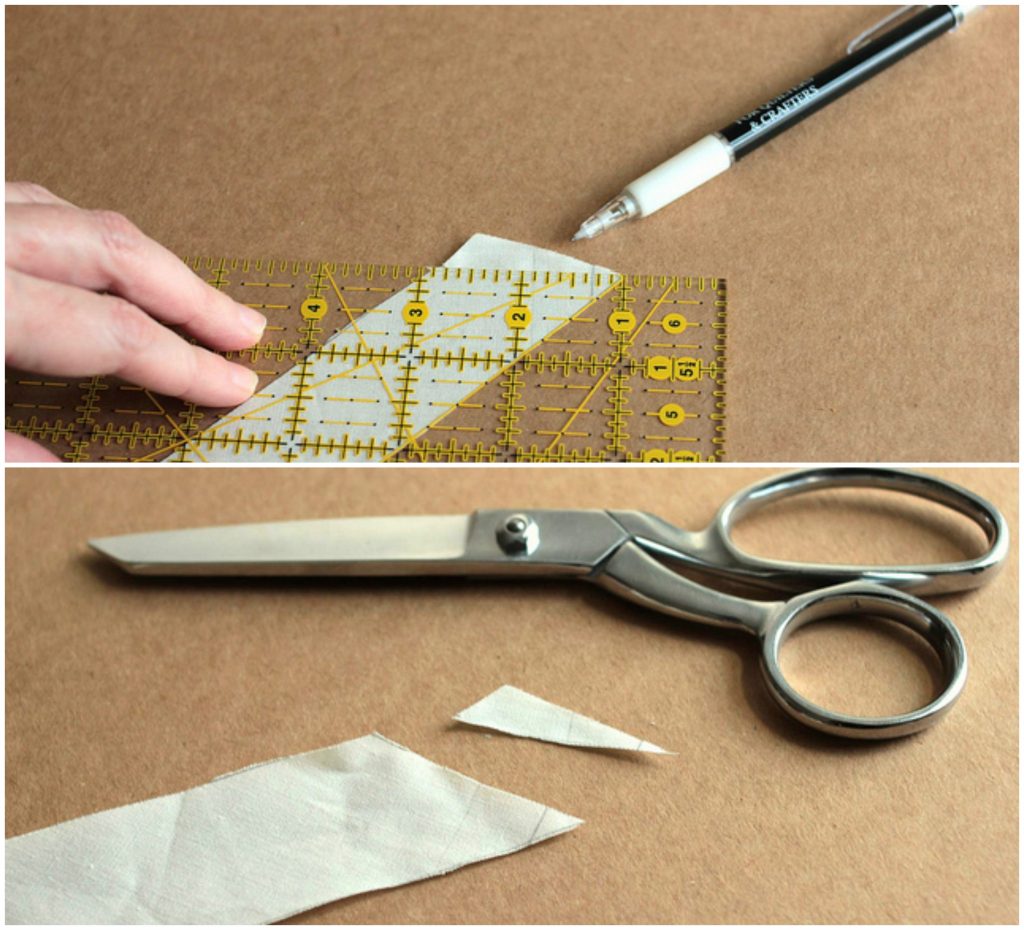
Step 4: Cut Your Ends
In order to connect your bias tape strips easily, you need to draw a 45 degree angle line across each strip end. Then cut.

Step 5: Join Your Ends
Line up the ends of each strip, as pictured, with 1/4” hanging off at each side. Stitch together with 1/4” seam allowance. Repeat for each of your strips, joining them into 1 long strip.

Step 6: Press & Trim Ends
Press your seam open and trim off the excess triangles.
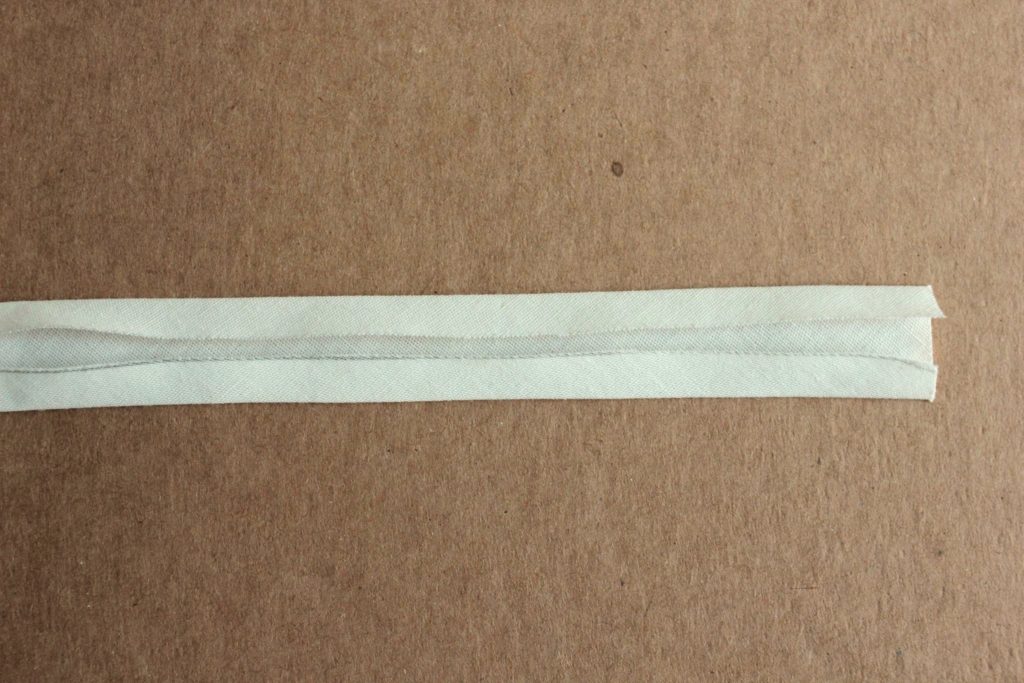
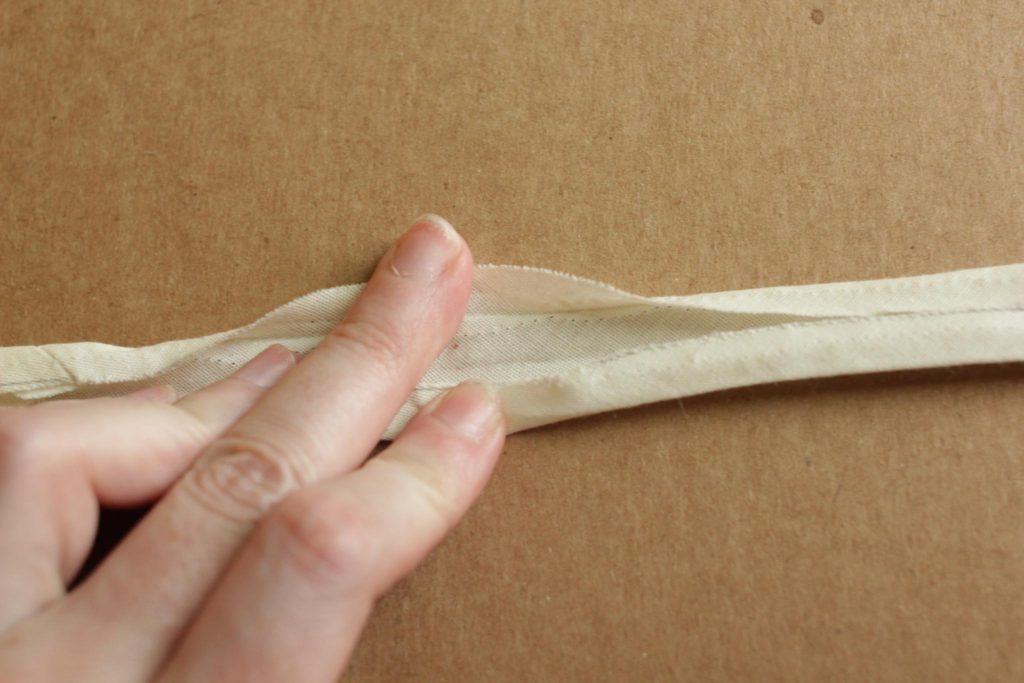
Step 7: Fold Edges & Press
Press the edges toward the center.

Step 8: Fold In Half
For double fold tape, press in half. At this point, leave one side a little longer than the other (about 1/16” or 1/32”). This will make it easier when you sew, if you align the longer side on the bottom (where you can’t see when you’re sewing).
That’s it; you’re done! Now use your bias tape as edging, or as piping.
Never miss a sewing project or tutorial
Want to get my best crafty tips & tutorials to create handmade projects and heart-melting gifts? All delivered to you in a weekly-ish email, along with exclusive offers. Pop your email in the box below and hit Subscribe. Unsubscribe anytime. See my Privacy Policy for details.
Oh! And, you’ll also get 10% off your next pattern purchase.